OverviewThis is going to be the use of a soldering iron to remove an old burned out engine and replace it with a new one. This same procedure can be used for replacing a smaller engine with a higher powered one. Be sure to do your research! The wrong motor will not work or can burn out the system. Look for your motor to the right, or buy a simple soddering kit below.
Buy Complete Kit on Amazon
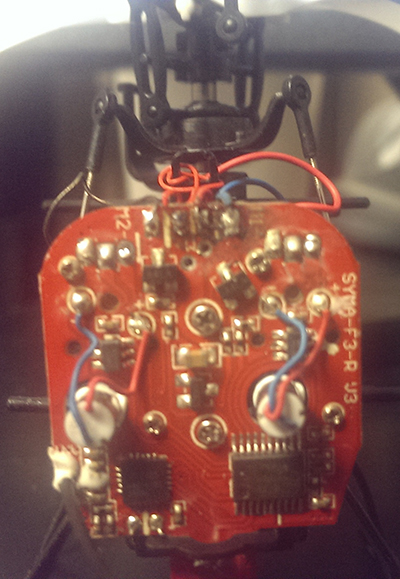
 Step 1 DesolderingFirst you have to desolder the engine that is in there. Be sure not to desolder the wrong wires and only the ones that are attached to the engine. If you have made a mistake you can always resolder it. In the below example you can see where I hasd to resolder and where it was burned because I had to resolder. Nevertheless, the copter is better than ever.
 Step 2 Resolder Fairly self explanatory. The soldering kit I referenced earlier comes with a guide on the basics of soldering. A major dificulty is the thinness of the wires. You can see how I attempted to circumvent this by bending the wires over the top of the motherboard and the wrapping them for some tenson and then soldering quickly. A much easier alternative would be to purchase a soldering assistane with clips to hold wires in place.
 Step 3 Test and Enjoy! Give it a go! If the solders have too much tin, or you misplaced the wires, you will have to start over.